MP
2963 posts
Oct 10, 2013
12:16 PM

|
The Seydel video arzajac posted is very helpful. I like the re-setting the zero point section.
some years ago chromaticblues hipped me to zero points.
he didn't call them that. he just told me he made these adjustments w/ an automotive punch. so many tools can do the same job. i use a piece of a LO reed plate.
If a reed is rather slow to respond, and it looks okay, sometimes the only thing i need to do is set the zero point w/ that springing motion Sjoerberg demonstrates. Gotta be careful though. if you set the zero point is too low, it doesn't matter how high your free end gap is. The reed just won't work at all- you'll get no sound period. if so, you'll need to lift the zero point till the reed responds again.
also, you have to be careful you don't crease the reed. It is easy to make a reed worthless and in need of replacement.
i like this bit from smwoerner,
"Don’t try to shape and gap a reed to play a certain way. Play a hole and then adjust the reeds’ shape and gap until the hole plays the way you want it to play."
----------
MP
affordable reed replacement and repairs.
"making the world a better place, one harmonica at a time"
click user name [MP] for info-
repair videos on YouTube.
you can reach me via Facebook. Mark Prados
Last Edited by MP on Oct 10, 2013 12:29 PM
|
chromaticblues
1480 posts
Oct 11, 2013
5:45 AM
|
I'll elaborate a little on what Mark said.
Some years ago I noticed that older Hohner harps were more leaky due to the reed not sitting all the way down to the reedplate at the rivet end (The harps made from 60's through the early 90's were bad that way). So at first I used a small auto punch and put it between the rivet and the beginning of the slot and gave it a light tap with a small ballpen hammer.
That wroked, but was very inconsistant. So I cut a piece of 1/4" square stock the lengh of the harp from front to back and drilled a whole slightly larger than the rivet. I drilled the whole where the rivet would be with the ends of the sqaure stock lined up with the ends of the reedplate. My thought was have the sqaure stock over as much of the reedplate as possible would limit the chance of bending it.
I then would use a auto punch and hit it easy just above the rivet. Now there cetainly is so opereater error involved with this process.
If you love the tone of old Marine Bands and can't live without them. Then this is a process you need to learn. Once I got at doing this Hohner changed there reeds and the way sit in the plate after being installed. That process just isn't needed with new Hohner harps. I almost never see that any more. When I do I just push it down with my thumb nail and look at it with a magnifying glass untill it's flush.
OK so when people say I just gap my harps and they work just fine. Well there is a little more than that to it. Do I just play a new harp and fix the reeds that don't respond well? NO! I go over every reed to check for flushness at the rivet, make sure the reed is almost perfecly striaght with a little bend upward at the end. OK there's more to it than that. Every single reed is different. There is no one way of doing it. The amount slope to the reed changes as the length changes. You don't set up an A harp the same way as a D harp.
What I'm trying to say is,"It's figin' complicated"!
I have a fromula in my head on how they all are set. I do that then do the practicle test. Play it!
The reward for the effort is amazing!
Having harmonicas that play well just makes playing so much more fun!
|
isaacullah
2538 posts
Oct 11, 2013
7:48 AM
|
I very quickly drew up a diagram that I think summarizes the debate that we are having here:

The bottom three "profiles" are never recommended. The reed either wouldn't even play, or would at the most play really terribly if your profile were like them. So those profiles are out of the question.
I think the debate centers around the top three profiles (and yes, I know that the gaps I've drawn are ridiculously wide):
1) The top most is a "straight" profile, from the base of the rivet pad to the tip of the reed. This profile requires a fairly sharp "bend" right at the edge of the rivet pad.
2) The second is a "gently curved" profile, so that the curve is along the entire length of the reed. Here, I've placed the apex of the curve slightly off center, which tends to keep the base of the reed very close to the reedplate for about 1/3 of the reed's length.
3) The third is a "sharply curved" profile, so that the curve is placed near to the free end of the reed. This tends to keep more of the reed (say, 2/3 it's length) close to the reedplate.
Now, the question comes down to which of these is best as a general strategy? Personally, I'd think the third strategy would produce the weakest results. It just seems like you wouldn't be using the entire potential of the reed, and it wouldn't pass through the slot in a way that would maximize the air pressure along its length. So, for me, the debate centers really around the top two options. Completely straight, or slightly curved?
Well, I actually cracked open some of my harps last night and checked with a magnifying glass to see what my profiles are really like. My profiling method is to first make the reed completely flat and level with the top of the reedplate, with no gap at all at the tip. Then I induce the gap AND the profile at the same time, using my small brass reed tool/dull toothpick against my thumb. I do this with a series of "strokes" and "flexes", plinking a lot during the process. It turns out that my final reed profiles are more like the "gently curved" than the "straight" profile in the picture above.
Thinking about it, and looking at those stoboscope pictures of reed movement, I think the "gently curved" profile makes the most sense. The "curve" put into it by profiling complements the actual way the reed flexes as it is played. Conversely, the "straight" profile wouldn't do that, and also might put undue stress right at the base of the reed, leading to early reed failure.
Where does everyone else weigh in on this?
EDITED for typos and clarity.
----------

YouTube! Soundcloud!
Last Edited by isaacullah on Oct 11, 2013 7:54 AM
|
Grey Owl
368 posts
Oct 11, 2013
8:27 AM
|
Good stuff Isaac, thanks for this! I think my profiles (and I'm a complete amateur at this) have been probably more like diagram 3, so I'm very interested on your take on this and it will be interesting to see others observations on the subject.
I realise what has been said before about assessing the effectiveness of the profiling as you play and test each reed but it I'm curious to learn if there is a starting off shape matching one of the diagrams above as a general rule.
----------

Grey Owl YouTube
Grey Owl Abstract Photos
|
chromaticblues
1481 posts
Oct 11, 2013
9:00 AM
|
@ Isaaculla I think if you put 2 and 3 together and the made the bend much more mild. That would be something like a 1 draw on a low pitch harp (G or A).
Certainly not 1 or 3.
Last Edited by chromaticblues on Oct 11, 2013 9:02 AM
|
Kingley
3184 posts
Oct 11, 2013
9:13 AM
|
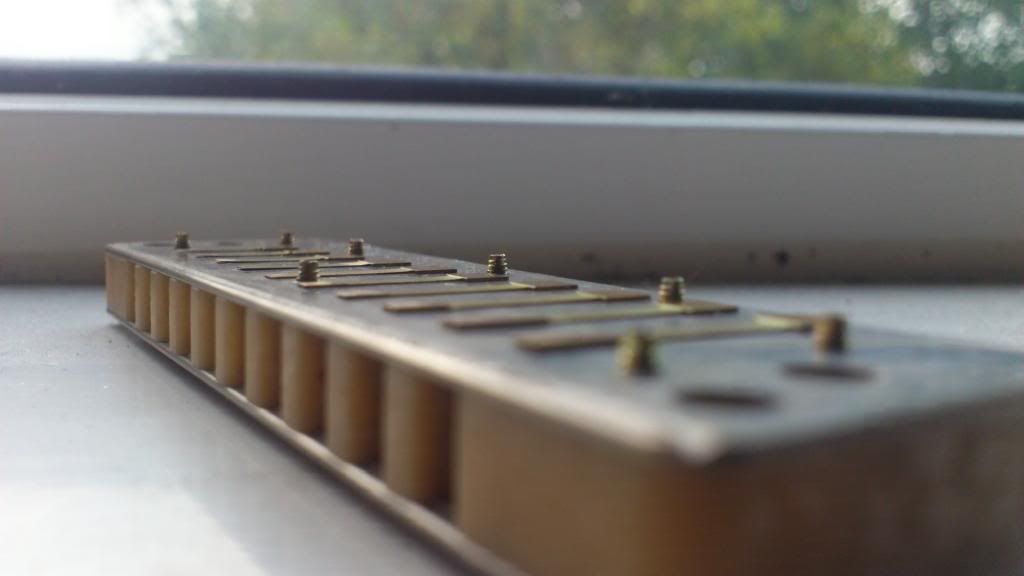
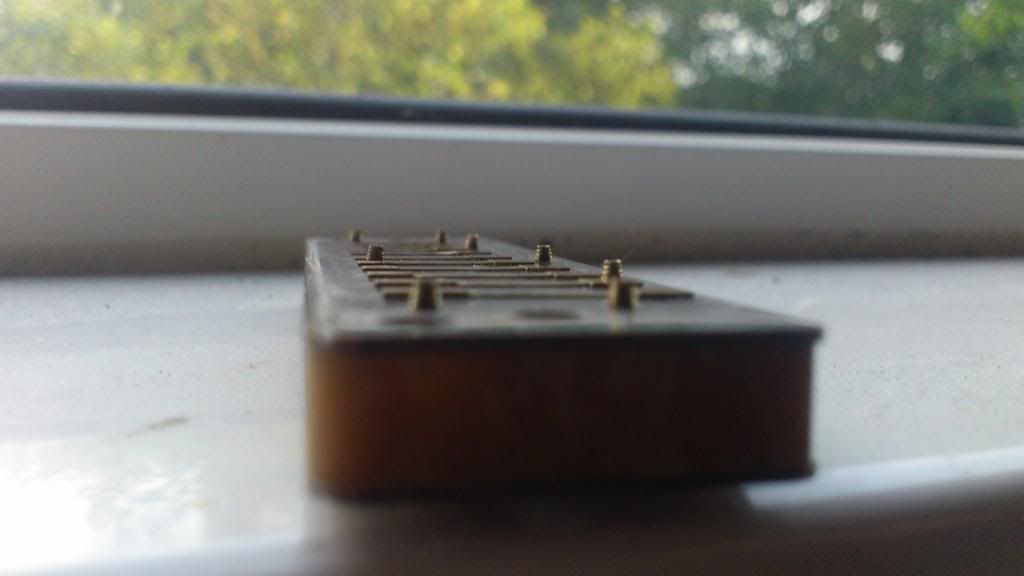
I set mine a bit like number one and two but with a less severe curve. I've just looked at one of my harps and the curve is so slight that it's barely noticeable. Here's a couple of pictures of my Bb Manji on which I have lightly embossed gapped and arced (profiled) the reeds and retuned to 19 Limit JI.
 Last Edited by Kingley on Oct 11, 2013 10:01 AM
|
harpwrench
698 posts
Oct 11, 2013
9:27 AM
|
I'd rather have #1 than 2 or 3, but what I do is somewhere in between.
----------
The best you know is usually only as good as the best you've had.
Spiers Custom Harmonicas
|
smwoerner
225 posts
Oct 11, 2013
10:17 AM
|
I'm like Joe in that I prefer #1. That's usually where I start and then fine tune from there.
I'll go ahead and toss my method out there to all. After I do all of my "reed conditioning" on a new plate I then go through and flatten every reed until the entire length of the reed is level with the edge of the plate. At this point the harp is unplayable.
Next I slightly lift the reed tip and slide a little wedge tool I've made under the reed. I work the wedge towards the rivet until I've established a starting gap appropriate for the reed and key.
I then play that reed making slight adjustments in the height and curvature until it plays like I want. I then do the same for the opposing reed.
Next I put the two plates together on a comb and adjust each until they cooperate.
----------
Purveyor of Optimized New and Refurbished Harmonicas.
scott@scottwoerner.com
|
Kingley
3185 posts
Oct 11, 2013
10:21 AM
|
"Next I slightly lift the reed tip and slide a little wedge tool I've made under the reed."
The flat end of the Lee Oskar reed lifting tool is great for that. I don't if they made it like that on purpose for that use or not, but it does work really well.
Last Edited by Kingley on Oct 11, 2013 10:21 AM
|
isaacullah
2540 posts
Oct 11, 2013
10:22 AM
|
EDIT: I've deleted this post because I think it needs it's own thread. Link to new thread polling profile styles: http://www.modernbluesharmonica.com/board/board_topic/5560960/5454549.htm
Last Edited by isaacullah on Oct 11, 2013 10:28 AM
|
nacoran
7222 posts
Oct 11, 2013
10:26 AM
|
Chiming in again about my thought about raised ridges on reed plates- in my head, the most airtight solution would be to 'countersink' (not quite the word I'm looking for). Imagine looking at the rivet end of a reed. You've got that little piece of reed, roughly square in shape, that overlaps the reedplate and has a rivet running through it. What if a square was cut out, like a countersink hole, directly underneath that space, so the reed actually sat flush with the reedplate? (The first problem might be that thin piece might not be strong enough, but I think it would.)
Of course, I still don't understand the physics of this, so I'm just throwing out tinkering ideas and speculating what they might do.
----------
Nate
Facebook
Thread Organizer (A list of all sorts of useful threads)
|
STME58
554 posts
Oct 11, 2013
3:47 PM
|
@isaculla,
Is it a coincidence that the shape required for the reed to be flat as it enters the reed plate with a constant pressure applied to one side of the reed?
I doubt the pressure across the reed is really constant as it is played but, it is interesting that when you make this assumption the mathematics lead to a shape similar to what experience leads to.
|
S-harp
184 posts
Oct 12, 2013
3:32 PM
|
I find sjoebergs approach interresting ...
I guess the core of his reasoning is that setting the arc
by hand with tools is just getting it in the ball park ...
Letting the reed find and settle the optimal arc by it self while under
stress is a more in line with the reed's natural metallurgy.
Read more about it here ( scuse the non clickable link)
http://www.harmonicaspace.com/harmonica-forum/maintenance-repair-customization/reed-arcing
----------
The tone, the tone ... and the Tone
|
SuperBee
1477 posts
Oct 12, 2013
10:53 PM
|
I've replaced a few reeds and setup my own harps in terms of "gapping". I'd never really given much thought to "profiling" as a discreet function to gapping. But I guess it is. I guess.
I just try to get my harps to play well, and generally they do.
I appreciate this thread though as I realise perhaps I can go a little further with it than I realised.
Today I harvested a 5 draw reed from an old Sp20 and plugged it into an old MBD...first bad reed in this harp, in 7 years or so.
I just screwed it in and centred it. It's in tune, plays like every other reed in the harp. I dont even remember gapping it, but I suppose I must have. Just looks right, plinks ok, plays in tune. Done.
I'm aware this is not "reed work" in the sense of the skilled customiser. It's 'harp repair' I guess.
----------

JellyShakersFacebookPage
JellyShakersTipJar
|