Tom Lauten
42 posts
Feb 24, 2019
7:21 AM

|
I finally got my Astatic 30 “Brown Biscuit” and CM element. I do like and appreciate the original look of the microphone but I was rather taken by the idea of a chrome...no...not chrome...a nice, warm NICKEL finish! After a great deal of “brain tennis” and research I decided to go shiny!

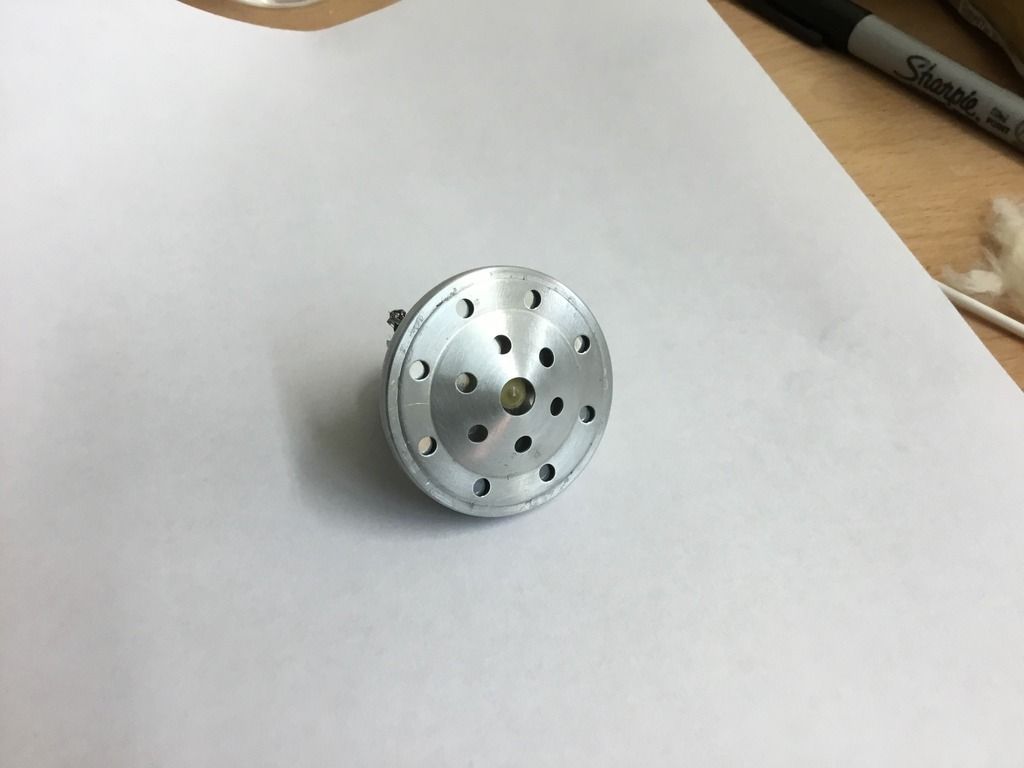
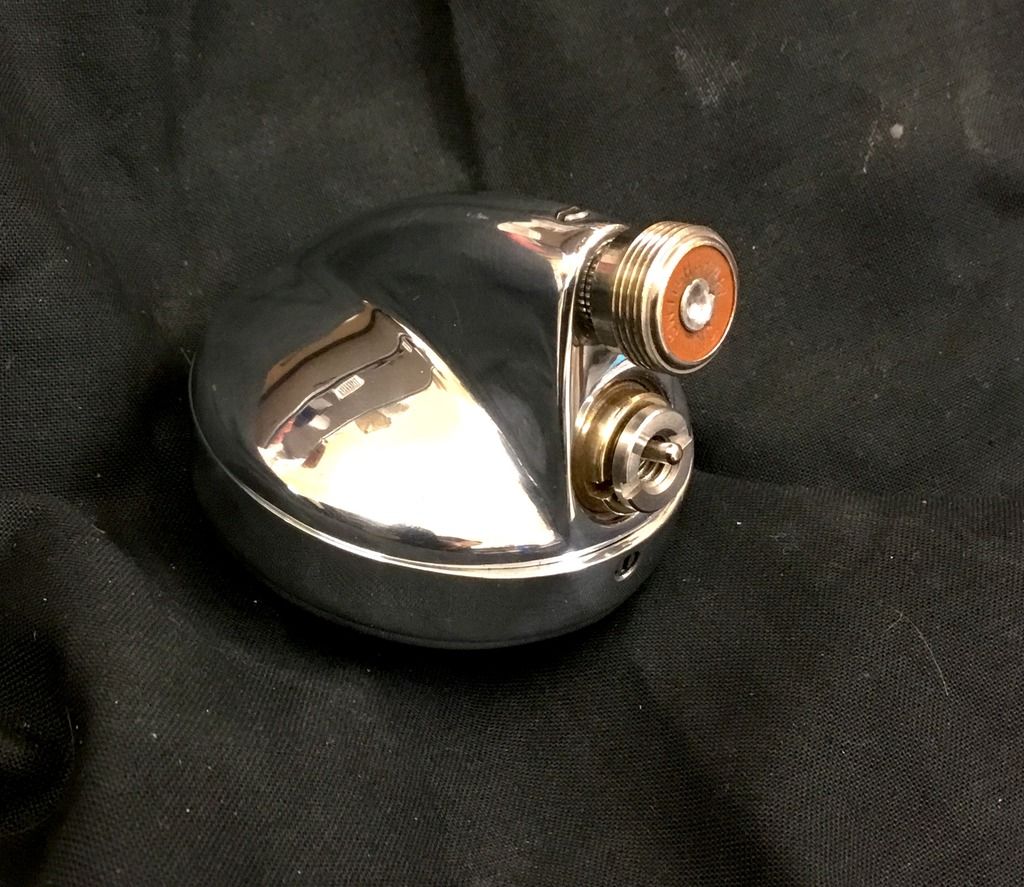
First things first... while the shell and grille were still mucky” I set about the process of custom making a gasket to marry the Brown Biscuit shell with a Shure CM element. NOT easy I can tell you! Ain’t much depth in that shell and with the element having its little “back pack” on, well... that’s enough of a challenge. But THEN I decided to fit an audio transformer internally and...I mean why not...a mute switch as well. I’m thinking of calling this my “Tardis” microphone!!
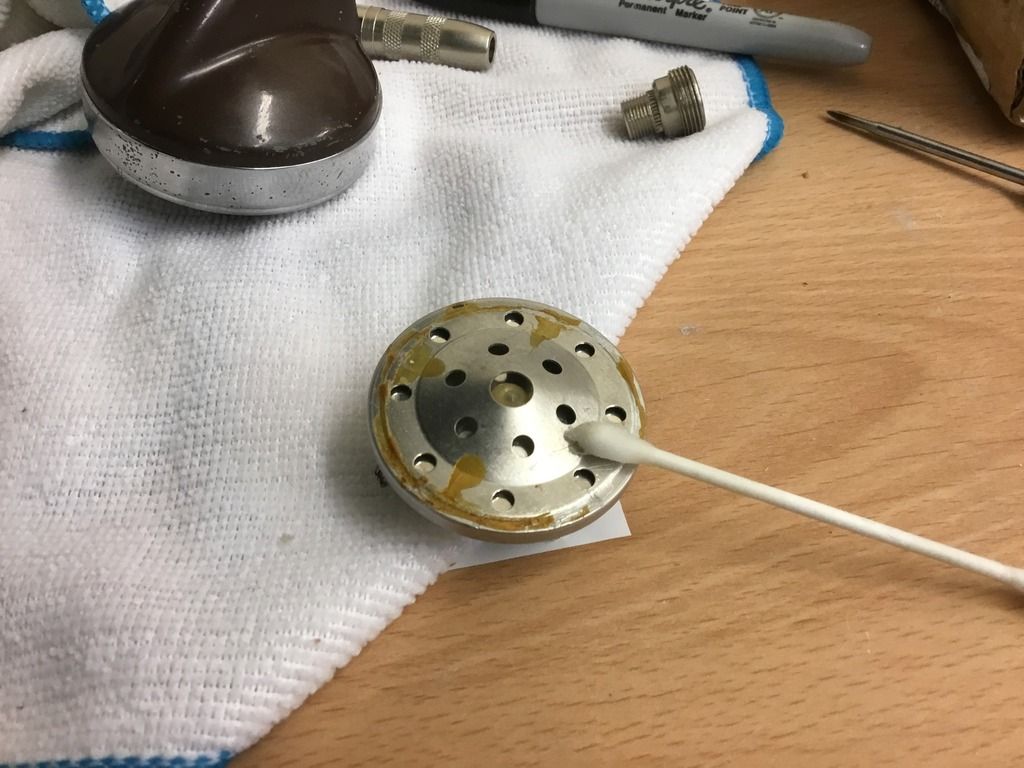
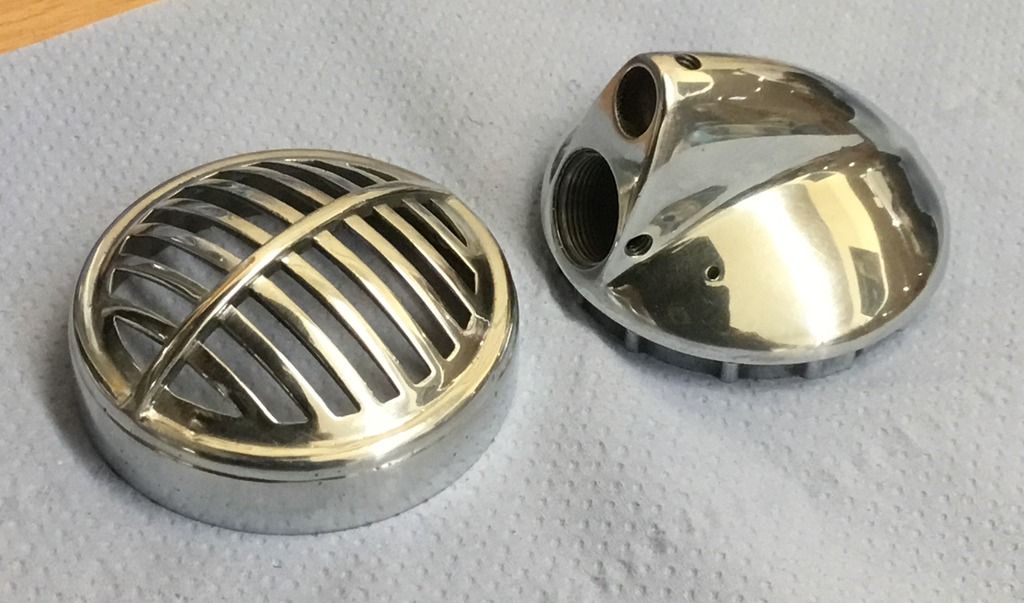
The messy work of gasket manufacturing all finished I turned my attention to the cosmetics. The mics grille was already in rough condition and clearly needed help. Electro chemically stripping the chrome was my first go to thought but many, many sources said this isn’t a 100% guarantee of success and it could be a “nasty” process. I had a long way to go so I thought let’s keep it simple for now. A very kind guy at a local alloy wheel refurbishing company took pity on me and I had the chrome and copper bead blasted off the grille. That worked well but it did leave the grille in very dull and pitted form. This was going to need a lot of work.
The back shell was another matter. I tried the most caustic paint stripper I could get “off the shelf”....nothing. Cellulose thinner...nothing. Acetone bath overnight....nothing. What the HELL did Astatic paint these things with!? It should be painted onto military tanks! Eventually, fresh out of a second overnight acetone bath I used steel wool and more acetone to abrade the shell clean of paint...eventually.
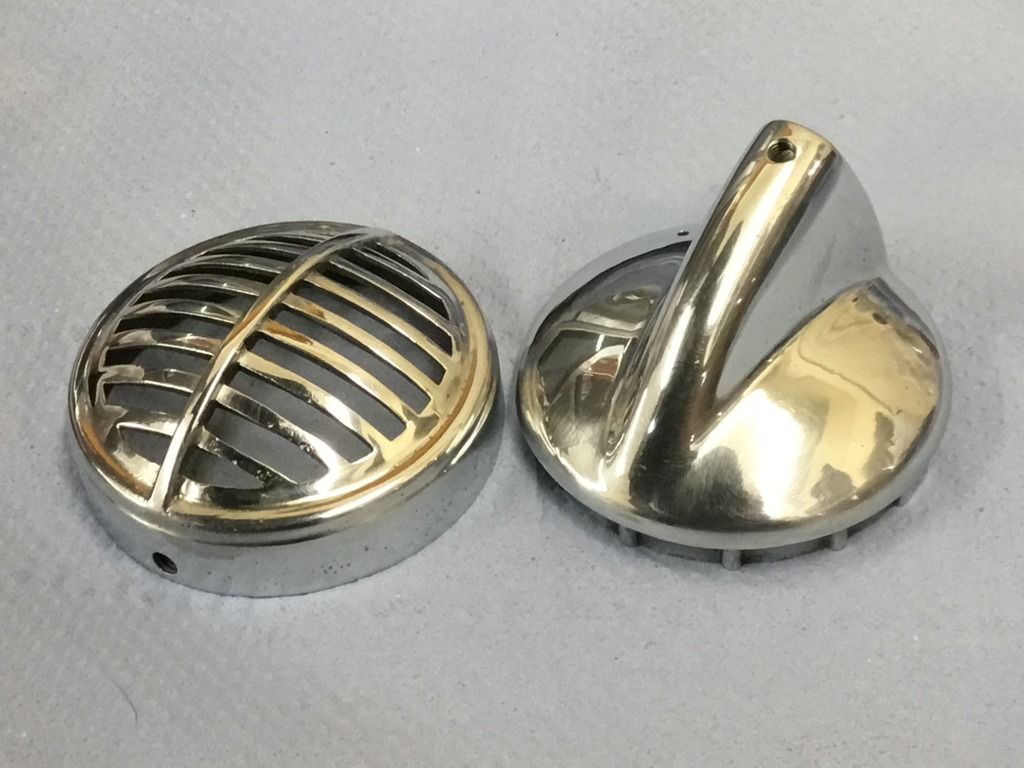
I grabbed my needle files and range of wet/dry paper and micro sanding blocks to do the best I could with the pitting and casting lines. I even used a “low melt” alloy to fill the worst of the pitting. Generally it came out well. I’d love to do this with a healthier donor but it is what it is. I?
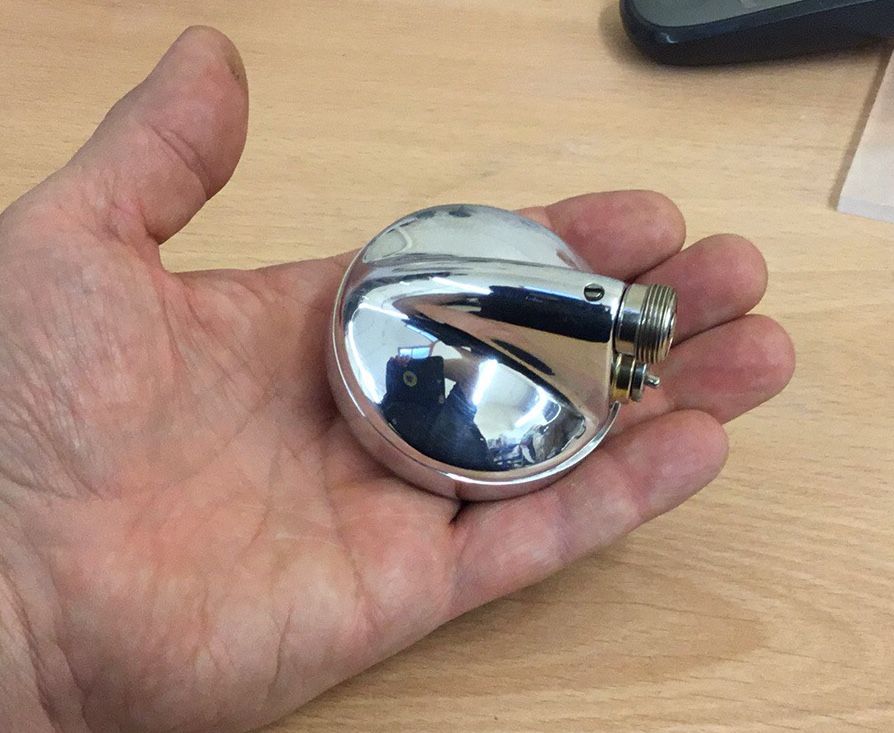
Steel wool got me close to a shine and that was seen through with buffing wheels, both bench mounted and micro ones on my Dremel. It’s so shiny it is tempting to leave it “as is” but this is zinc baby...ain’t gonna stay that way for long!
I’m to the point where I think I’m ready to start the multi step process of brush plating this zinc casting to (fingers crossed) a bright nickel finish. The EXTRAORDINARILY helpful Dan at Gateros Plating in the UK set me up with all the kit and chemicals I need and what’s more...answered my ENDLESS stream of irritating emails and phone calls with (I’m sure) the usual annoying, nit picking, newbie plating questions and worries!
This is where things went weird and I was warned that plating zinc is a seriously ropey business. The grille? Fine, took the first initial copper layer well. So did the back shell...ish. Then came the next layer of copper and all hell broke loose!! This layer ripped through the first layer, the first layer sloughed off and all of this left marks in the metal!! Aaaarrrrgggghhhh! To HELL with this! Off came the plating using steel wool and I began the polishing again. This time I went from heavy compound and a mop wheel to the finest compound and to be honest, I couldn’t have asked for a more stunning metal finish! Away went my plating kit and out came the soft cloths. Ok, it isn’t perfect and I could have filled more of the pitting and maybe reshaped areas a bit more but this was my first rebuild outing. I’m pretty darned pleased.
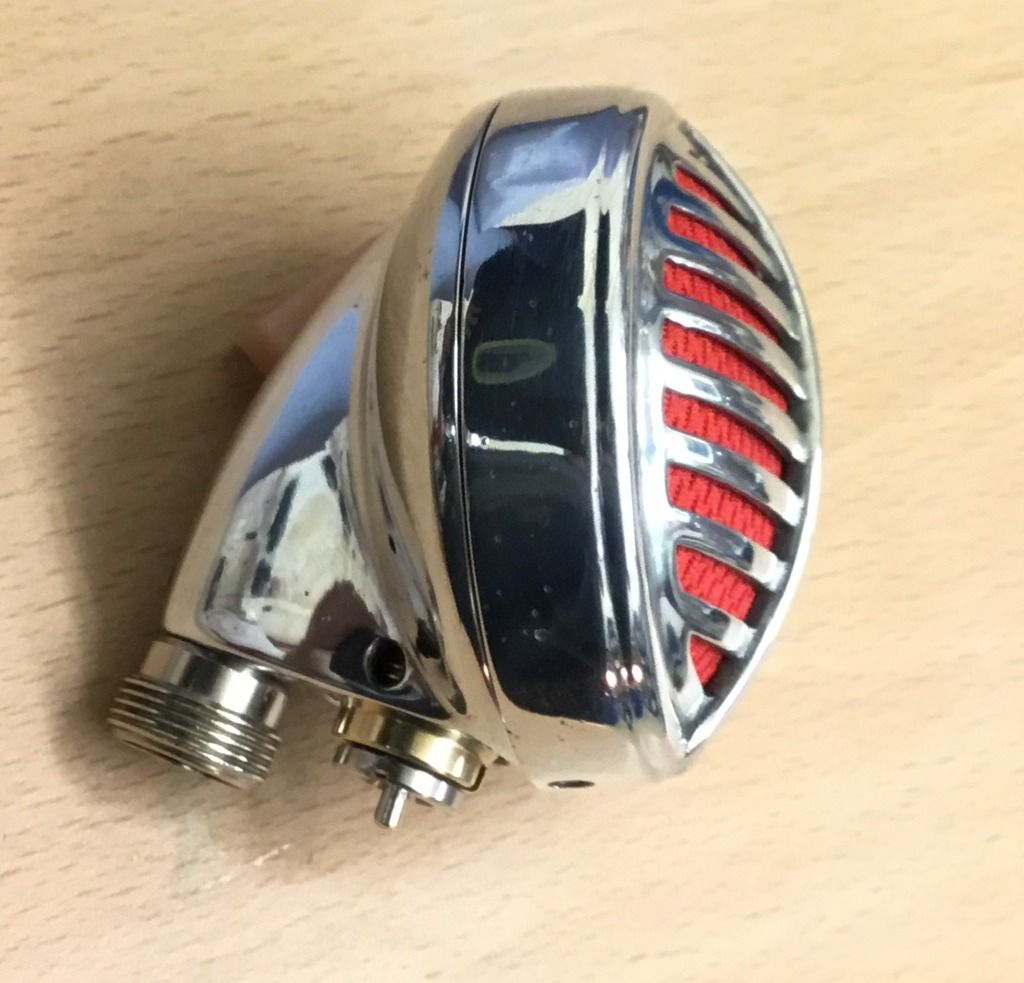
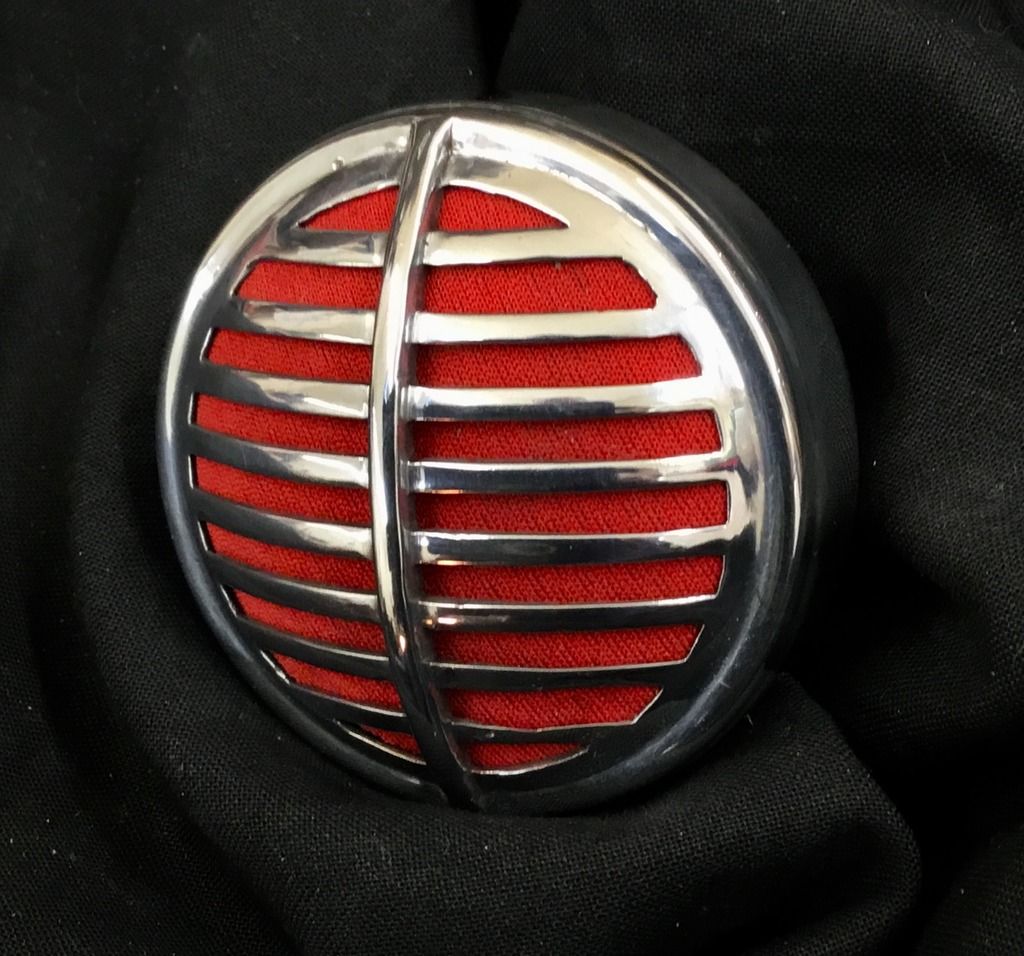
All the parts are back together now, one of my custom Astatic 30/Shure CM gaskets in place and the crystal, impedance transformer, switch and jack are securely soldered up! Granted, it was like building a ship in a bottle but it all fits fine. I have a bit of red speaker cloth and a wire mesh screen behind the grille and man-o-man does this sparkly bastard honk and shout!!

----------
Tom "Bad Paw" Lauten
Loch Ness, Scotland
www.nimbacreations.com
Last Edited by Tom Lauten on Feb 24, 2019 8:30 AM
|
Tom Lauten
43 posts
Feb 24, 2019
8:15 AM
|
MAN I GIVE UP TRYING TO PUT IMAGES ON HERE...NO CODE SEEMS TO WORK!!
Tom "Bad Paw" Lauten
Loch Ness, Scotland
www.nimbacreations.com
Last Edited by Tom Lauten on Feb 24, 2019 8:16 AM
|
Tom Lauten
44 posts
Feb 24, 2019
9:11 AM
|
Anyone have any clues on what voodoo needs to happen to make pictures appear? Followed the directions to the letter and space!
----------
Tom "Bad Paw" Lauten
Loch Ness, Scotland
www.nimbacreations.com
|
Dragonbreath
104 posts
Feb 24, 2019
9:32 AM
|
I see them, mic looks amazing, great job! Hope it sounds as good as it looks!
|
Tom Lauten
45 posts
Feb 24, 2019
9:34 AM
|
REALLY!!!?? NOT SHOWING FOR ME AT ALL!
Thanks very much...it does sound wonderful. Snarky and biting, great distortion on the cup!
----------
Tom "Bad Paw" Lauten
Loch Ness, Scotland
www.nimbacreations.com
|
SuperBee
5829 posts
Feb 24, 2019
12:56 PM
|
Yeah I see them. A bit on the large-ish side but not too bad.
What do you think of the sound of the mic? I put a CR in a biscuit but I think the element sounded better in the shell it was in previously.
|
Tom Lauten
46 posts
Feb 25, 2019
5:46 AM
|
Each shell is going to have “some” influence on the sound I would assume. I swapped this element between a Shure 520 and the Astatic 30 and I “THINK” I could hear a difference...not huge but a bit...not sure how much “shapes in the clouds” I was detecting. The Brown Biscuit has a tiny space internally and a bit of wizardry and “persuasion” is needed to get the CM and it’s gasket in there...damn it’s little “backpack”! Personally, I like the sound. It still conjures up some decent bass and that could be helped by the fact that the shape of the Brown Biscuit works well for ME in terms of getting a good cupping seal. Some may find it a bit more awkward...I guess it’s like picking an easy-chair...gotta find the fit that’s right for your butt!
----------
Tom "Bad Paw" Lauten
Loch Ness, Scotland
www.nimbacreations.com
Last Edited by Tom Lauten on Feb 25, 2019 5:48 AM
|
Junior Little
7 posts
Feb 25, 2019
7:35 AM
|
Can't see the pics. Why some can and others can't, I have no idea...
Bummer.
Last Edited by Junior Little on Feb 25, 2019 7:35 AM
|
The Iceman
3779 posts
Feb 25, 2019
8:16 AM
|
Pics are nice. The look of the mic is ok, but I'm more interested in how it sounds. Great sound with scruffy look "trumps" slick finish with crappy sound.
----------
The Iceman
|
Tom Lauten
47 posts
Feb 25, 2019
11:49 AM
|
Fair enough. I look at it this way. I have the shell and the element anyway. Making it look nice won’t change the sound. It will be what it is with paint, pitting, chrome or not. Now it looks nice.
----------
Tom "Bad Paw" Lauten
Loch Ness, Scotland
www.nimbacreations.com
|
Junior Little
8 posts
Feb 26, 2019
1:11 PM
|
Finally I am able to see the mic porn!
Excellent work! I've always wanted to restore/refurbish a couple of my mics, but never have gotten around to it.
This is inspiring, I must say.
|
Tom Lauten
48 posts
Feb 26, 2019
11:48 PM
|
Lol! It was a little scary getting stuck in but really worth the effort in the end. Made some mistakes along the way but they go in the memory bank of things NEVER to do agin! I can see the pics now too by the way...weird stuff that!
----------
Tom "Bad Paw" Lauten
Loch Ness, Scotland
www.nimbacreations.com
|